The users while working with forms, may associate/attach additional documents to the forms from local machine. The associated documents will be uploaded to a specific workspace folder based on form settings for the form.
The following steps list the functionality details:
1. Select 'Apps
- Manage Workspace Settings' option from the ![]() drop down displayed at the top of the screen.
drop down displayed at the top of the screen.
![]() A list of all the forms added to the Workspace
will be displayed as under:
A list of all the forms added to the Workspace
will be displayed as under:
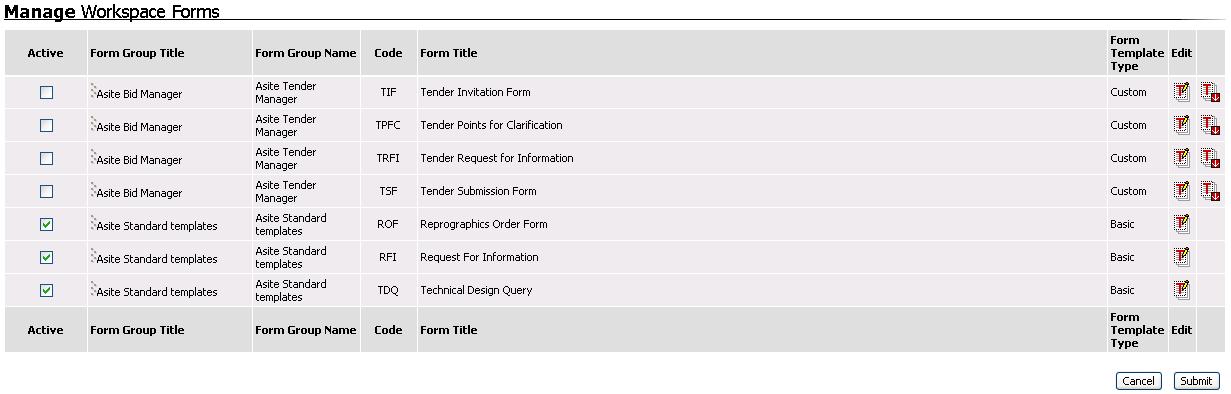
![]() The form types having Active
checkbox as ON, are Active Forms types on the workspace.
The form types having Active
checkbox as ON, are Active Forms types on the workspace.
![]() Click on the
Click on the ![]() icon to download
the AppBuilder Form template for the form type.
icon to download
the AppBuilder Form template for the form type.
2. Click on ![]() icon
to edit the Form Settings of the form.
icon
to edit the Form Settings of the form.
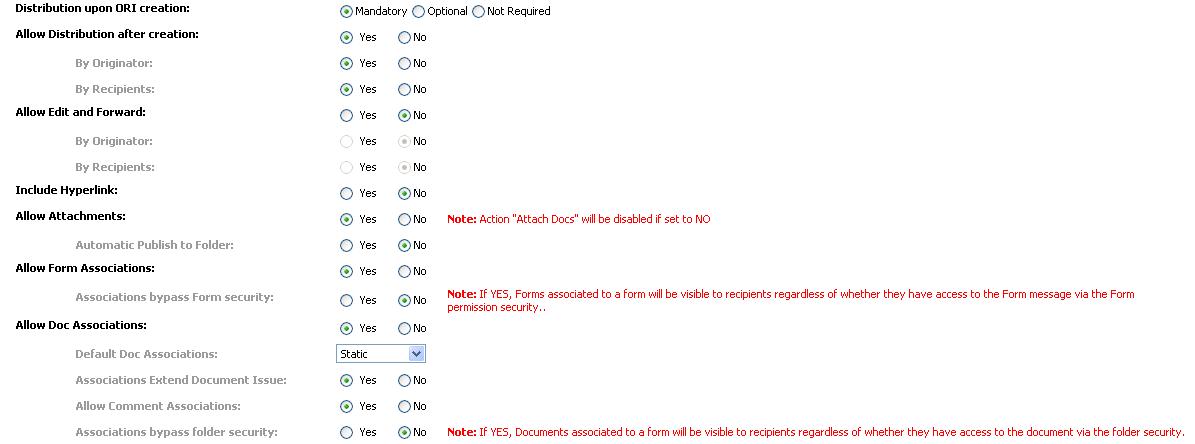
3. Select 'Allow Attachments' option as Yes. This will enable 'Automatic Publish to Folder' option. Set 'Automatic Publish to Folder' option also to 'Yes'.
4. Click on ![]() button to select a folder where
the documents associated/attached will be uploaded.
button to select a folder where
the documents associated/attached will be uploaded.
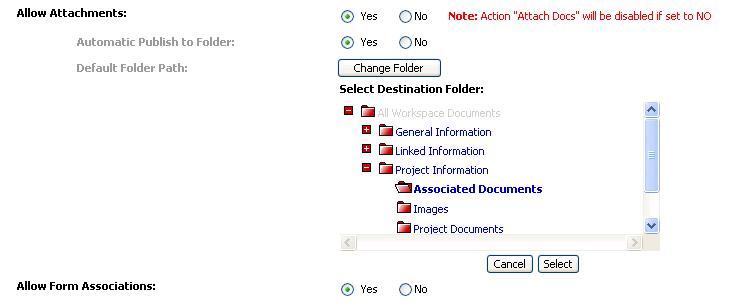
5. Click on Select to set the selected folder.

6. Click on Submit to change and apply the new settings.
![]() The form changes will be applicable with the next
instance of the form. All the previous instances will have the same settings
as the earlier one.
The form changes will be applicable with the next
instance of the form. All the previous instances will have the same settings
as the earlier one.
7. Navigate to the form for which the form settings are changed and Automatic Upload to folder is set to Yes.
8. Click on the ![]() icon
to create a new form.
icon
to create a new form.
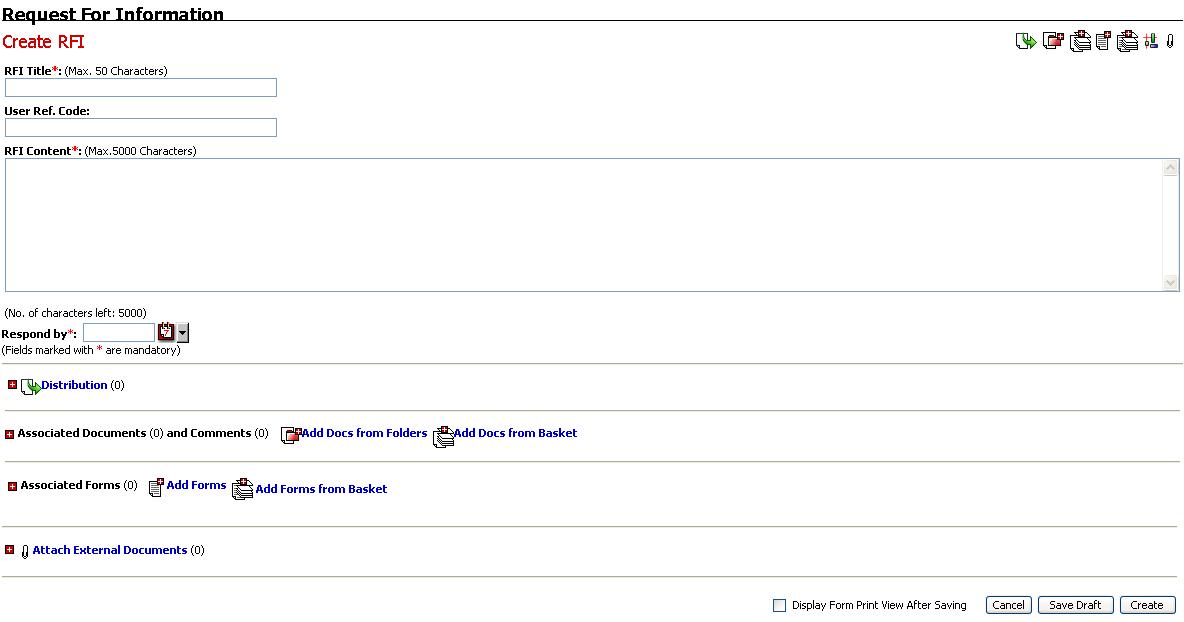
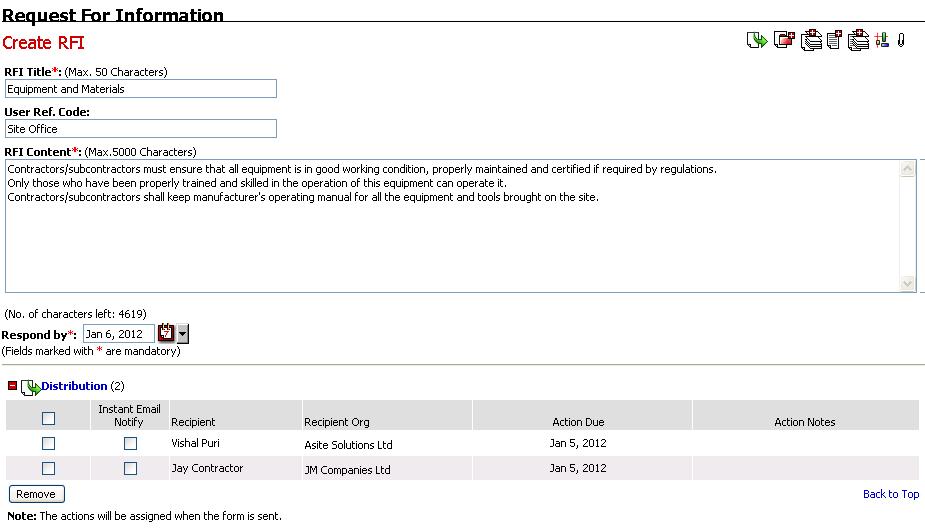
9. Enter the required information in the form.
10. Click on ![]() link
to add documents from local machine to the form.
link
to add documents from local machine to the form.
11. Add the respective documents to the form.
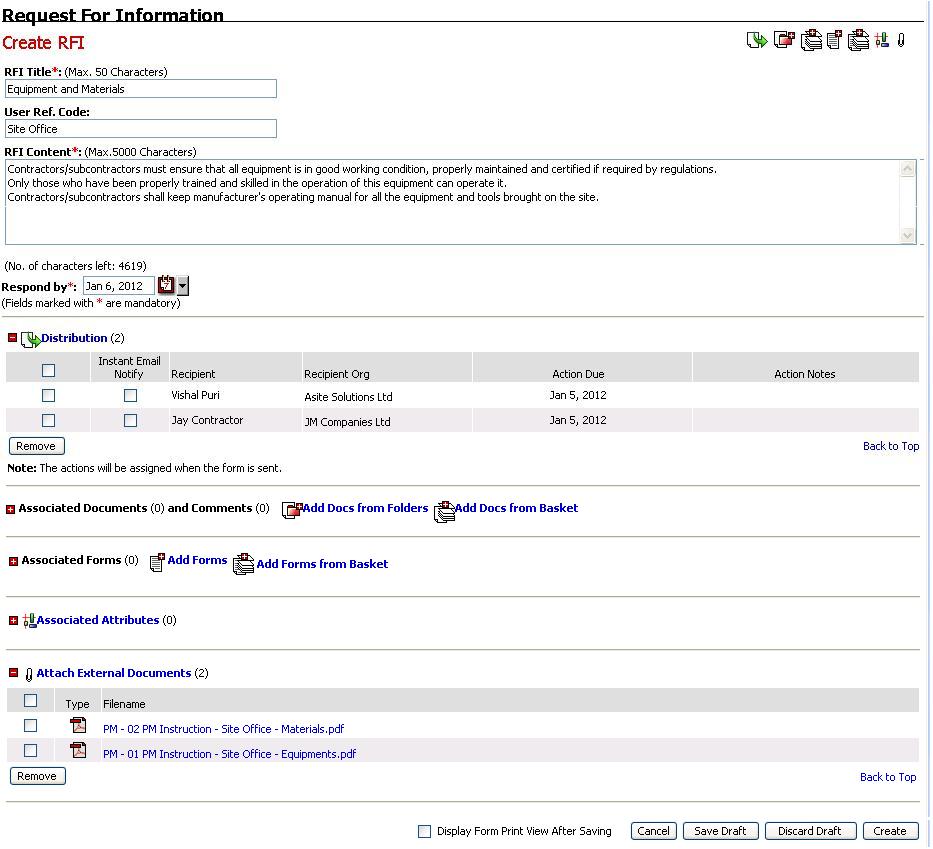
12. Once the documents are attached, click on ![]() button to Create the form.
button to Create the form.
13. The form will be created and appear on the Form listing view.
14. Navigate to the workspace folder which was specified earlier in form settings.

15. The attached documents are uploaded to the specified folder.